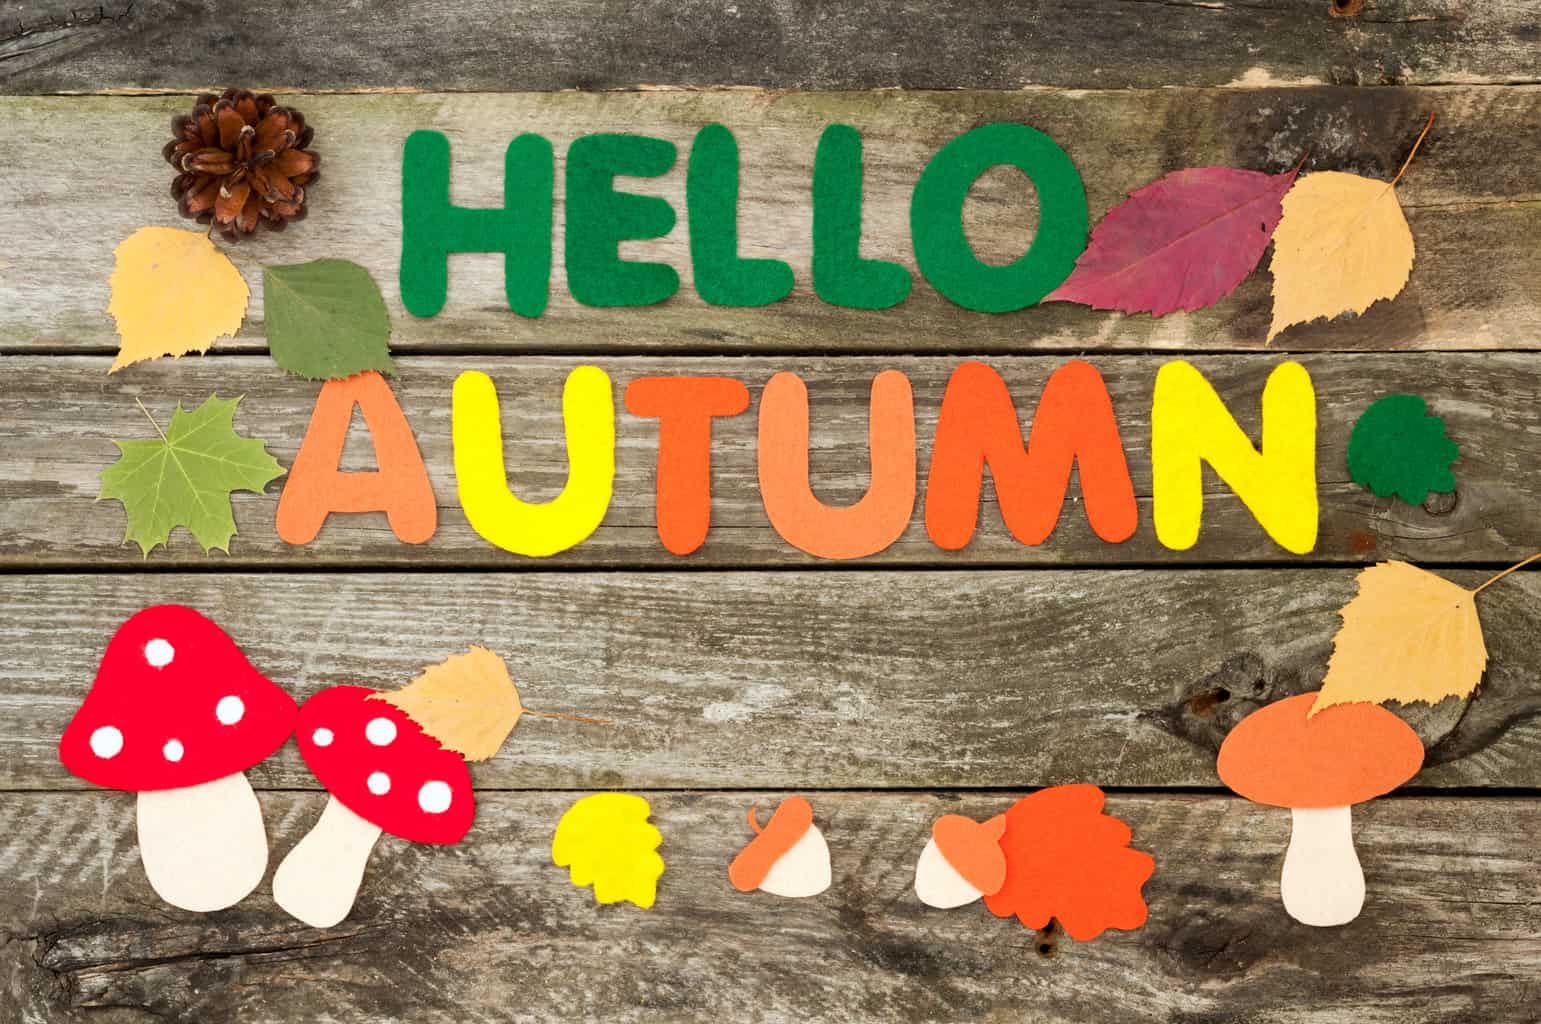
Simple Autumn Arts And Crafts For September & October
It’s fall y’all! It’s the perfect time for parents and teachers alike to get creative with little ones, celebrate the season and say “Welcome, Fall!”
There are so many fun, simple fall arts and crafts projects for September and October that both you and your kids can enjoy together!
And it all begins with the great outdoors!
Depending on where you live and what your climate is like, you could do these projects even into November. Just be sure to get going on them before the snow flies!
As the leaves change colour and the air becomes crisp, you can bring the beauty of autumn indoors with these fun fall crafts.
Not only will these activities spark your child’s imagination, but they will also create precious memories and keepsakes to look back on and cherish.
Here are 10 fantastic fall arts and crafts ideas for September & October to enjoy with your kids:
Leaf Rubbings
We’ll start with a super simple fall art project for toddlers, preschoolers, or school-aged children. Heck, I’m a grown-up and I still enjoy doing these easy leaf rubbings!
Head outdoors with the kids and gather up some fallen leaves. Look for different textures, colours, shapes, and sizes.
Once you’re back home clear off a nice flat work surface like the kitchen table and get your fall coloured crayons ready! You can also use oil pastels instead of crayons if you’d like.
Place the first leaf underneath a piece of paper. Regular printer paper works just fine.
Be sure to press down on the paper where the edge or stem of the leave is so it doesn’t shift.
Use the crayon lengthwise (remove the paper) and rub it up and down gently. Repeat this process with different leaves, one at a time, to create your masterpiece.
The intricate leaf patterns will transfer onto the paper, creating very pretty leaf-rubbing artwork that your kids will love.
Be sure to have them sign their names and you can date it for them!
Pumpkin Painting
Pumpkins are one of the most popular symbols of fall. They make the perfect canvas for your child’s creativity.
And even if you’re not into the whole pumpkin spice-flavoured everything (pumpkin spice mac and cheese?…seriously??), you have to admit pumpkins just scream fall and Halloween.
Instead of carving, try painting pumpkins with your kids. Use assorted colours and patterns.
There’s no right or wrong way to do this fall art project, just have fun and let your little ones paint their pumpkin however they desire!
Let your kids’ imaginations run wild as they transform plain pumpkins (orange or white pumpkins both work great) into unique, fun, and funky fall decorations!
Use non-toxic child-friendly paints for younger kids or choose regular acrylics for highly pigmented colour.
Remember, regular acrylic paint will wash off your pumpkin if it rains so keep your creation somewhere out of the elements such as a covered porch or awning.
For a longer-lasting painted pumpkin, try enamel or muli-surface paints, or water-resistant paint markers!
One excellent benefit to pumpkin painting instead of carving is that you can decorate your pumpkin way ahead of time and not worry about it rotting on your front porch.
We paint a Sugar Skull pumpkin every year because that is one of our favourite designs!
Paper Plate Masks
Creativity is the key here so this fun little project can be made to look like a fall-themed character face (pumpkin, turkey etc.) or just totally abstract. However your child wants to decorate their fall mask is up to them!
Supplies You’ll Need:
- Paper plates
- Acrylic paint (fall colors)
- Glitter (optional)
- Paintbrushes
- Plastic wrap
- Masking tape
- Scissors
- Glue or glue stick
- Hole punch or scissors
- Construction paper (orange, brown, and green)
- Markers, crayons, or colored pencils
- Feathers, autumn leaves, stickers, or fabric scraps
- String or elastic cord
Let your child’s imagination run wild as they paint a beautiful fall background on the paper plate, experimenting with different colors and brushstrokes to capture an autumn feeling.
While the paint is still wet, introduce a fascinating texture by gently pressing a piece of plastic wrap onto the plate, mimicking the look of autumn leaves.
Sprinkle on glitter if desired
Let the paint dry completely. As it is drying you and your child can cut out the decorations to make a face.
It’s easy for kids to draw and cut shapes that look like fall leaves and they are always a nice touch on autumn-themed crafts.
It could be a cute pumpkin face, a friendly scarecrow, or a forest animal. Owls are always a big hit!
Glue on feathers, autumn leaves, stickers, burlap or fabric scraps to enhance your mask.
Use a hole punch or a pair of scissors to carefully make two holes on opposite sides of the mask. Make sure they are at the right distance apart to fit comfortably on your child’s face.
Cut a piece of string or elastic cord long enough to comfortably secure the mask around your child’s head. Thread it through the holes.
Make secure knots on each end of the string to ensure the mask stays in place during playtime. Adjust the string for a snug and secure yet comfortable fit.
Now the fun part…playtime! Encourage your kids to get into character and have fun with their newfound disguise.
This fall paper plate mask craft is not only a creative outlet but also an excellent opportunity for quality bonding time with your children.
Handprint Trees
This handprint tree painting is one of those easy, fun, and sentimental fall crafts that even the youngest child can make.
Have your child dip their hand in brown paint and stamp it on a piece of paper to create the trunk of a tree.
Then, using different fall colours, let them create leaves by pressing their fingers around the branches.
It’s a beautiful way to preserve their tiny handprints while also making lovely fall-themed artwork.
Be sure to sign and date your keepsake artwork!
Pine Cone Bird Feeders
Head out on a nature hike with your kids to hunt for pine cones. Once you have collected a few, you can transform them into super cute pine cone bird feeders.
This is a fun and easy craft to do in the fall or any season, actually! It takes about 10 minutes to create one of these and is a great project for kids of all ages.
If you want to do a craft like this in a classroom setting, use a peanut-free alternative due to possible nut allergies.”Wow” brand soy butter is a great substitute for peanut butter.
- Cut a 10″ piece of twine and tie a slip knot.
- Then loop the twine over the top of your pine cone and tighten.
- Using a butter knife or a medium flat paint brush, brush the peanut butter on the pine cone. You can put as much or as little as you like but I think it looks cute with some of the pine cone showing through. The birds will eat that too!
- Next, pour some songbird seed into a small dish and press your pine cone into the seed.
- You can sprinkle the rest of the birdseed on by hand to fill in bald spots.
Watch the short below showing this simple process if you are more of a visual learner.
Fall Wreaths
Create a pretty and festive DIY fall wreath for your front door with your kids.
Gather colourful leaves, acorns, pine cones, and other natural materials from outdoors. Or hit the dollar store! They always have a ton of silk and plastic flowers, berries, and foliage.
Being the fall season, naturally, they will carry all kinds of autumn-themed accessories to use in your diy fall wreath.
Also, head to the craft aisle for some pretty burlap or shimmery ribbon. Gold, orange, yellow, cream, or red will all work well.
Or perhaps you prefer a more spooky Halloween-type wreath. Dollar Tree or any of the discount-type stores will have a ton of Halloween decor this time of year!
To assemble your DIY fall wreath:
- Using a foam or cardboard ring, or a plain bamboo wreath as a base, have your kids arrange and glue the collected items to form a beautiful fall wreath.
- Secure your leaves and other decorations onto the ring with glue (grown-ups could use a hot glue gun if desired).
- If using a bamboo wreath, you could also secure the silk flowers by wrapping a small piece of framing wire around the plastic stems and securing it that way. Natural items like leaves, acorns etc. would still have to be glued on.
- There’s no right or wrong way to do this fall craft, just be creative!
adorable turkey windsock craft
Crafting a turkey windsock is a fantastic way to celebrate the season while sparking your child’s creativity.
As the autumn winds start to dance through the trees, there’s no better time for this fun fall craft project.
This adorable turkey windsock can be made with supplies you probably already have at home.
Supplies You’ll Need:
- Empty Toilet Paper or Paper Towel Roll: This will form the body of your turkey windsock
- Brown Paint: To color the roll and give it a turkey-like appearance
- Feathers: Real or craft feathers for the turkey’s plumage
- Construction Paper or pipe Cleaners: Various colours for crafting the turkey’s features
- Glue Stick: To attach the elements
- Googly Eyes: For that extra touch of cuteness and a whimsical look
- Tissue Paper, Crepe Paper, or Ribbons: To create the “tail” of the windsock
To create your windsock:
Paint the tube with an even count of brown paint for the turkey’s body. Let it dry completely.
Cut shapes for the turkey’s face and beak. Cut a red wattle and a yellow beak from the construction paper. If you want, you can also cut a small round shape for the turkey’s head but it’s not that necessary.
Attach the cute turkey face features with glue. Googly eyes are always a fun touch but if you don’t have them you can cut eyes out of construction paper.
Now it’s time to bring your turkey to life with a little feather magic! Glue feathers all around the body of the tube creating the illusion of plumage.
Your child can use traditional feathers with natural colours or use crazy bright craft feathers for a whimsical look. Whatever tickles their fancy!
Next, cut long strips of tissue paper or ribbons in various fall colors. These will serve as the turkey’s tail feathers.
Glue the strips of ribbon or tissue to the inside of the open end of the roll to create a colourful fluttering tail.
Using a hole punch, make a hole at the top of the roll. Thread a string through it to create a hanger for your windsock.
Make sure all the glued elements are secure and that the tail feathers are well attached.
Hang your turkey windsock on your porch, in the garden, or in your child’s bedroom to enjoy the whimsical, fluttering turkey all season long.
Your adorable windsock will catch the breeze and add a touch of autumn charm wherever it hangs. It’s a fantastic, easy, and fun fall craft for kids!
This short video below from Home of The Holidays shows how quick and easy it is to make a DIY turkey windsock for Thanksgiving!
Scarecrow Puppets
Creating scarecrow puppet crafts out of paper bags, popsicle sticks, and construction paper is a delightful and super-easy project that is perfect for fall!
Construction paper is perfect for crafting the scarecrow’s features like the face, clothes (overalls or a flannel shirt), and a straw hat. Use various fall-inspired colors like orange, brown, and yellow for authenticity.
Glue the construction paper feature to the paper bag and glue the popsicle sticks for the arms. Let the glue dry completely.
Now that your scarecrow puppet is complete, it’s time to bring it to life! Encourage imaginative play with your children and let them put on a fall-themed puppet show.
These scarecrow puppets are not only adorable crafts but also fantastic tools for storytelling and pretend play, making them perfect for fall fun.
Autumn Leaf Suncatchers
Creating dazzling suncatchers with colourful autumn leaves is one of the simplest fall crafts to do with your kids!
Place clear contact paper sticky side up and let your kids arrange different coloured leaves, flower petals, and tissue paper on it.
Once they’re satisfied with the design, cover the arrangement with another layer of contact paper to seal it.
Punch a small hole and attach a string to the top. Hang the suncatchers on windows and let the sun shine through to light them up!
halloween mason jar luminaries
I’ll admit, I sort of have a thing for Mason jar crafts, especially painting them. They are a fun and easy DIY craft that can be tailored to any season, theme, or occasion.
So, naturally, in the fall I will make some Halloween-themed glass jars. They are a great way to upcycle jars you already have kicking around your house into something fun for the spooky season.
If you’re using a jar that previously had food in it be sure to wash it very well with hot, soapy water.
After drying it, clean it with rubbing alcohol and a paper towel. The alcohol will remove any residue, marks, or oils from your hands.
Paint the outside of the jar with acrylic multisurface paint. You can use regular acrylic or craft paint but I just find I prefer the quality of multisurface or enamel paint meant for painting glass.
If you want your luminary to be even more transparent, you can mix your paint with a transparent medium or plain water to thin it out.
Use orange paint if you are going to do a pumpkin face, green for Frankenstein’s monster, or white for a ghost or mummy face.
Paint the whole outside of the jar, doing the bottom last, and then set it on a piece of newspaper to dry thoroughly.
Once your Mason jar is dry, draw your spooky face lightly with a dull pencil, then go over it with a Sharpie or a paint pen.
Fill in the face features with the paint pen, marker, or glass paint. Use a fine detail brush so you stay inside the lines.
If you’re using an actual Mason jar, paint the ring top black (you don’t need the metal lid with the rubber rim). If you are using a regular glass jar from around the house, just skip this step.
Once everything is dry, place a tea light or a battery-operated string of tiny fairy lights inside the jar. You can use real candles if you like but of course for kids, that’s not age-appropriate.
Display your jars in your front window, your parch, or anywhere else that you want to show some spooky Halloween spirit!
I think this year, I may do a bunch of Halloween Mason jar luminaries and line the walkway up to our house for the trick-or-treaters!
GET INTO THE SPIRIT OF FALL WITH THESE EASY ARTS AND CRAFTS!
Engaging in fall crafts with your kids is a wonderful way to embrace the beauty of the season while spending quality time together.
These creative activities not only encourage imagination and fine motor skills but also allow you to bond and make lasting memories with your little ones.
Whether it’s spooky Mason jars that light up, painted pumpkins, pine cone feeders, or transforming into scarecrows and woodland creatures, these easy fall arts and crafts are sure to provide endless hours of autumn-inspired fun.
So, gather your art supplies and let the September and October fall fun crafting adventures begin!
Until next time, K.

Kelly is the founder and creative force behind Just Our View From Here. As a first-time mom over 40, she brings a fresh perspective to parenting and family life on her blog. Kelly also explores a wide range of lifestyle topics in her writing, including fashion, beauty, self-care, and well-being.
You May Also Like:
25 Fun Rainy Day Activities For Toddlers
Easy STEM and STEAM Projects for 3-6 Year Olds
Quiet Time Activities For When Your Child Drops The Nap

Best Christmas Books For 3rd Graders
The Best Christmas Read Aloud Books For 3rd Grade in 2024 As Christmas approaches, it’s…

fun Fall Activities For Families
15 Fun Things To Do In The Fall: Celebrate The Magic Of Autumn! There are…

Cheap Fun Summer Activities For Families
Affordable Summer Weekend Fun: Exciting Family Activities Summer weekends are the perfect opportunity to spend…

Creating the Perfect Kids’ Book Nook: Tips and Ideas
Raise A Reader! How To Create A Cozy Book Nook For Kids Hey, moms, dads,…

Benefits Of Taking Your Kids To The Library
11 Compelling Reasons to Bring Your Kids to the Library A Library is a magical…

Seeing You Grow Up Quotes: A Journey Through the Stages of Childhood
Don’t Blink: Beautiful & Inspiring Quotes About Kids Growing Up For Every Stage And Age…